
Creating the Model Happy New Year! I know it’s February already, but the year is still young and this is my first blog post of the year. So happy New Year, Rockstar! I love the New Year, for me it's like starting with a clean slate and gives me a new canvas to work on. I brainstorm with my team about ideas for the year and we do a lot of planning. We focus on what we want to accomplish and work on launching new designs I've been creating in the last few months. With that said, I thought it would be fun to walk you through the details of how I designed my newest collection, which I’ll be launching at the end of March. Every two weeks I’ll show you the steps that went into creating one part of the collection. I'm so excited to take you behind the scenes into my studio so you can see how hard we work to make new styles come alive. The Brontë Collection is inspired by the Brontë sisters, which might give you a hint as to how I’m approaching this collection. There will be three distinct personalities, but that all have a design that unifies them, just like the sisters. I've loved their work since I was a teenager, full of angst and passion and drama. Plus there's a kind of precision to a Victorian novel filled with details, like a collection of someone's thoughts, that always appeals to me. So please join me on my journey of creating my latest collection. My designs are influenced in part by my surroundings, so you'll see a lot of architectural details and organic, nature-inspired shapes. I'm both a city and a country girl at heart and my work is definitely influenced by both. Once I’ve thought about what I want to create, I’ll sit down with a pen and paper and start sketching out some designs that have been swirling around in my head. From there I’ll go to the workbench and start creating the piece – usually with a combination of wax and metalsmithing techniques. 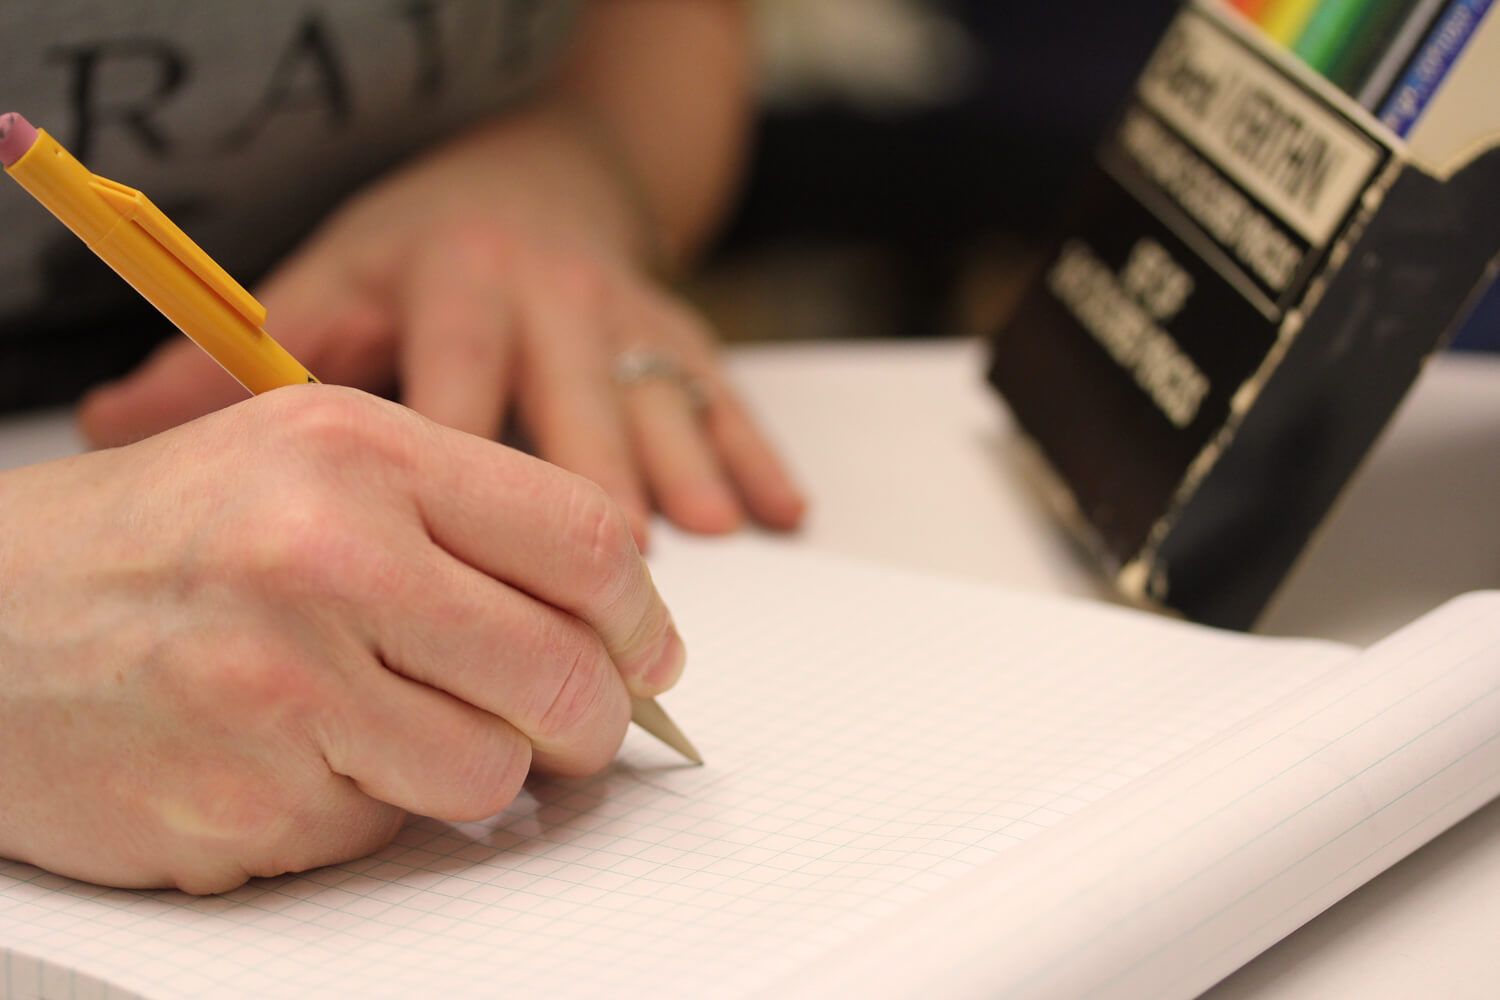
In this first post I’ll show you how I create a model for casting at our local metal casting company. For this particular piece (a pair of earrings), I created a bezel using wax.

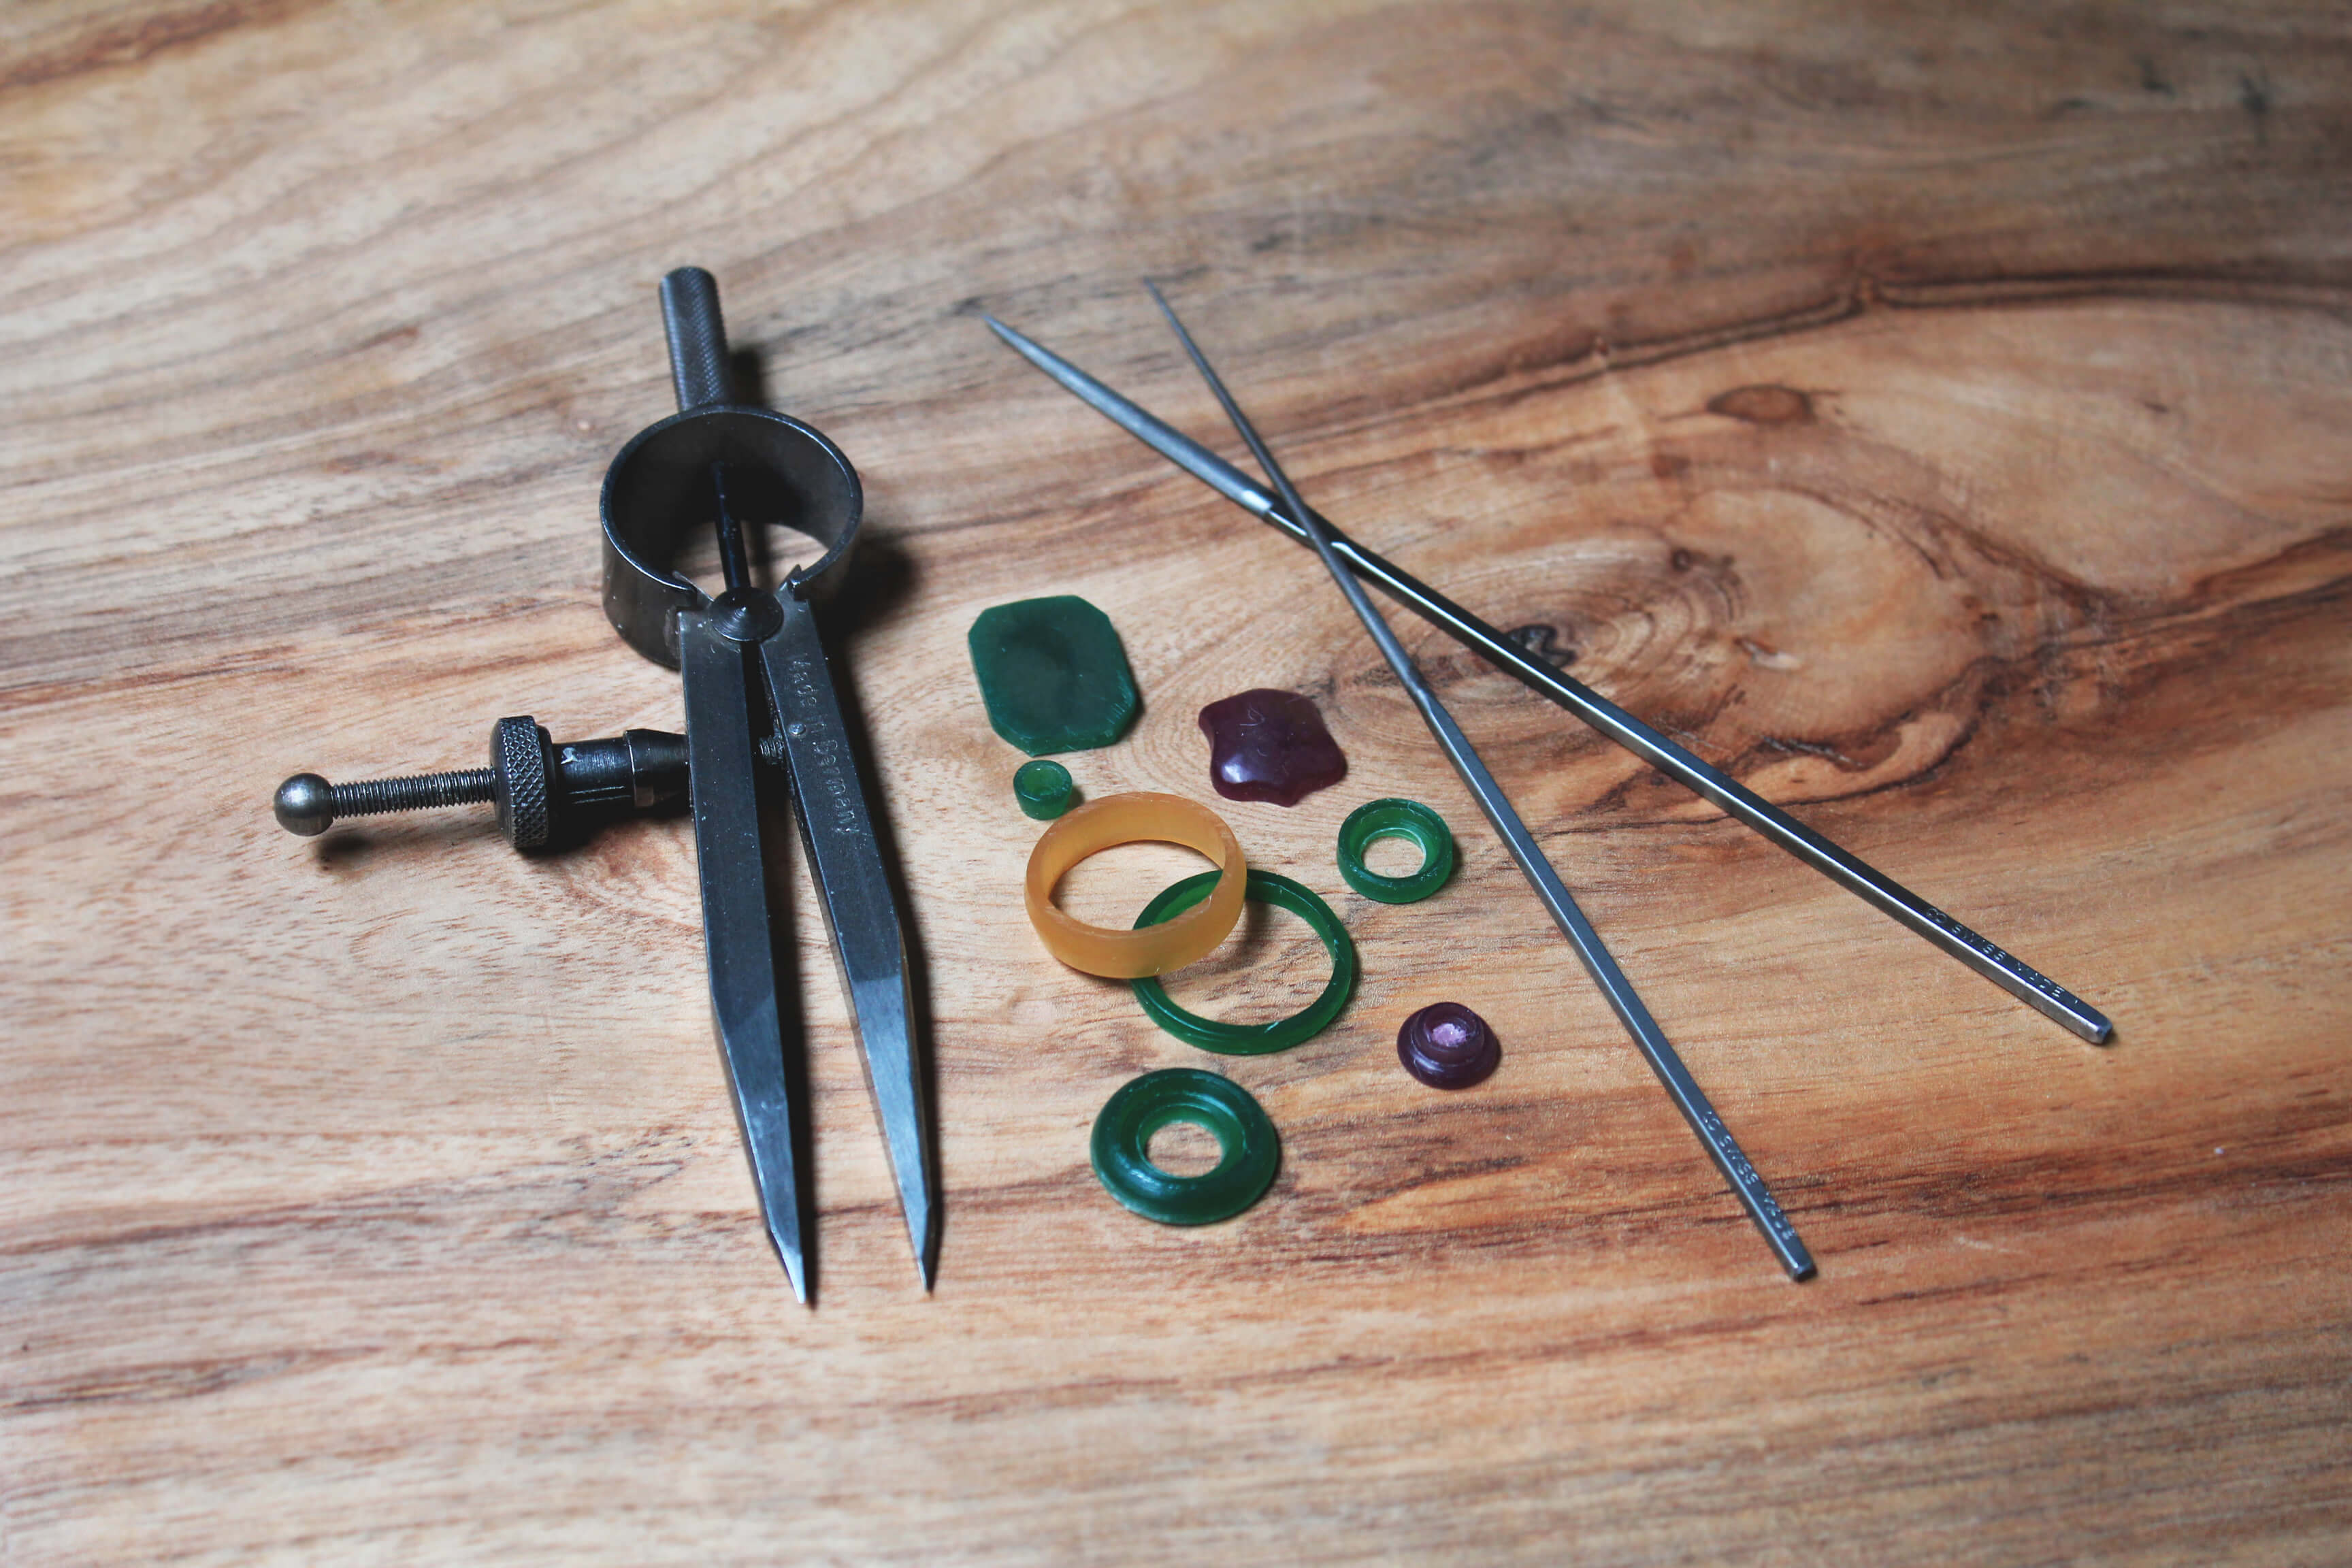
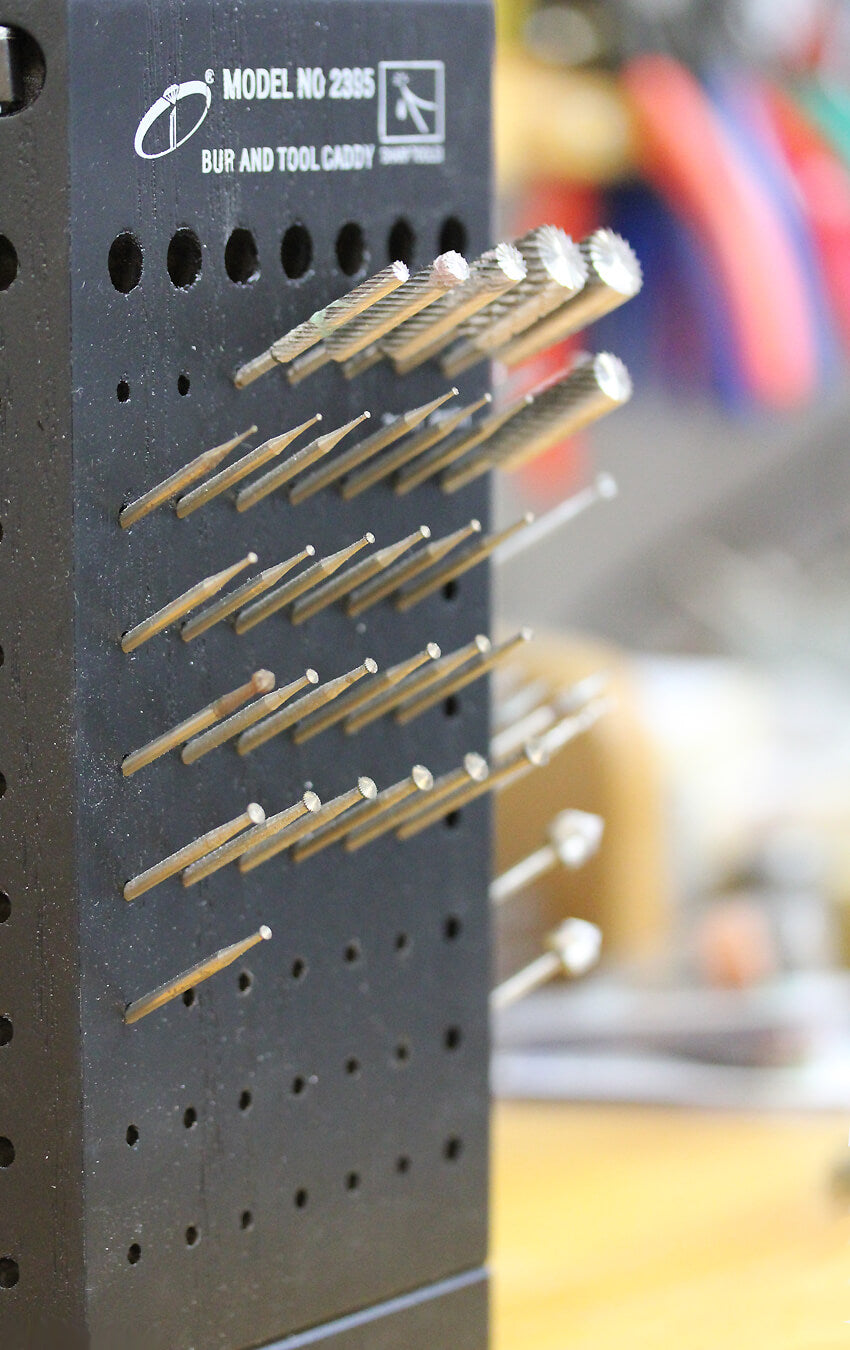
When creating a bezel, it’s important that it is symmetrical, otherwise the stone won’t fit correctly and I’ll end up with all sorts of issues when I go to set the stone. So, it’s worth spending the time making sure it’s correct and measuring depth, thickness and height many times until it's exactly right. For me, this means going back to the piece time and time again, while playing some music to give me energy. It's incredibly detailed work so I'll take breaks to help me keep my sanity! As much as I love working in wax, there’s only so much time you can spend working on one piece – especially a small bezel! Some models take a few hours to carve and some take a few days, it depends on whether or not the piece is cooperating with me. :-) I use a saw and a file to carve the bezel from a block of wax that is specifically created for jewelry making. I use various tools to carve it, files, drill bits, carving tools and finally a very fine-flamed torch to give smooth edges.

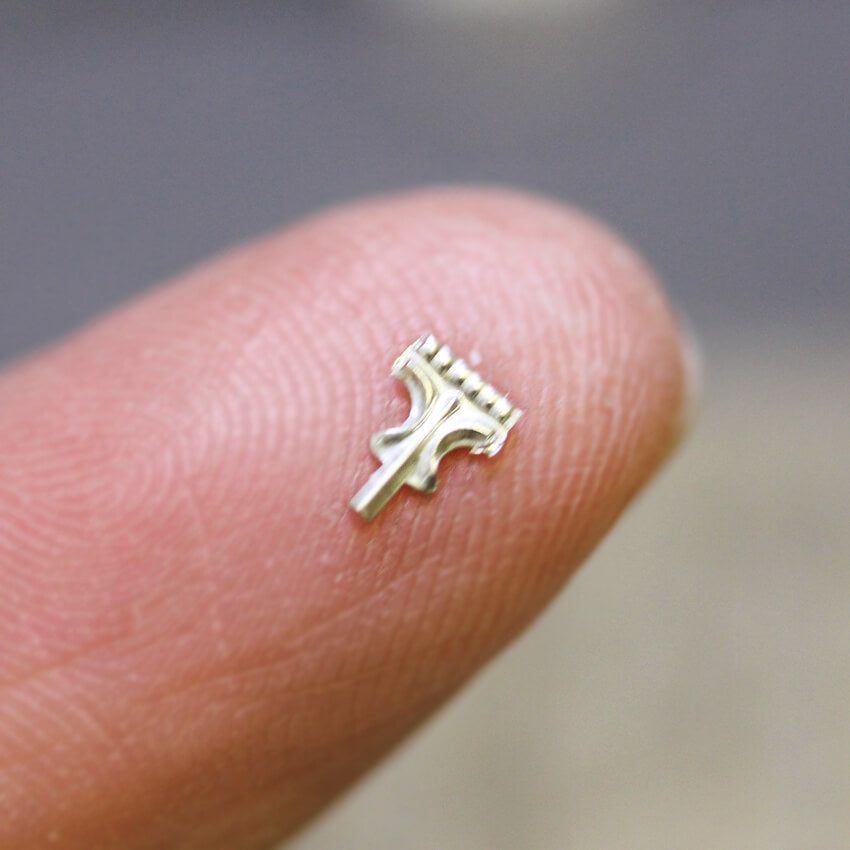
When the bezel is ready I send it off to get a mold made. This is so I can customize the piece in whatever fine metal my customer has ordered. I usually cast the first pieces in sterling silver – my preferred choice of metal when it comes to prototypes. Casting is an art unto itself. Although I know how to do my own casting, I don't do any of this part in my studio (there are many reasons: risk of fire is a major one). Instead I prefer to work with a local fine metal caster here in NYC. They are experts and we've worked together for almost 20 years. They know the ins and outs of my work and how best to cast it so that it comes out perfectly every time. When the bezel comes back I need to saw off the sprue (I’ll go into more detail about the casting process in my next blog post) and file it down. For this particular piece I am going to be soldering gallery wire to the side of the bezel as the decorative element. My bezels almost always have a decorative element to them that makes them unique. For this collection in particular I chose decorative elements that remind me of vintage Victorian jewels. This collection was tricky soldering the wire to the bezel because of the tiny size of the piece (the bezel is for a pair of earrings). But I need to make sure it’s perfect because this is going to be the model I use for future casts and finished jewelry, so it needs to be accurate as possible! 
 Here is the finished bezel which is ready to go to the casters, they will make a silicone mold of it so that multiple pieces can be cast. I will ask for four to be made so that I can make them into two pairs of earrings, with two different gemstones for photos.
 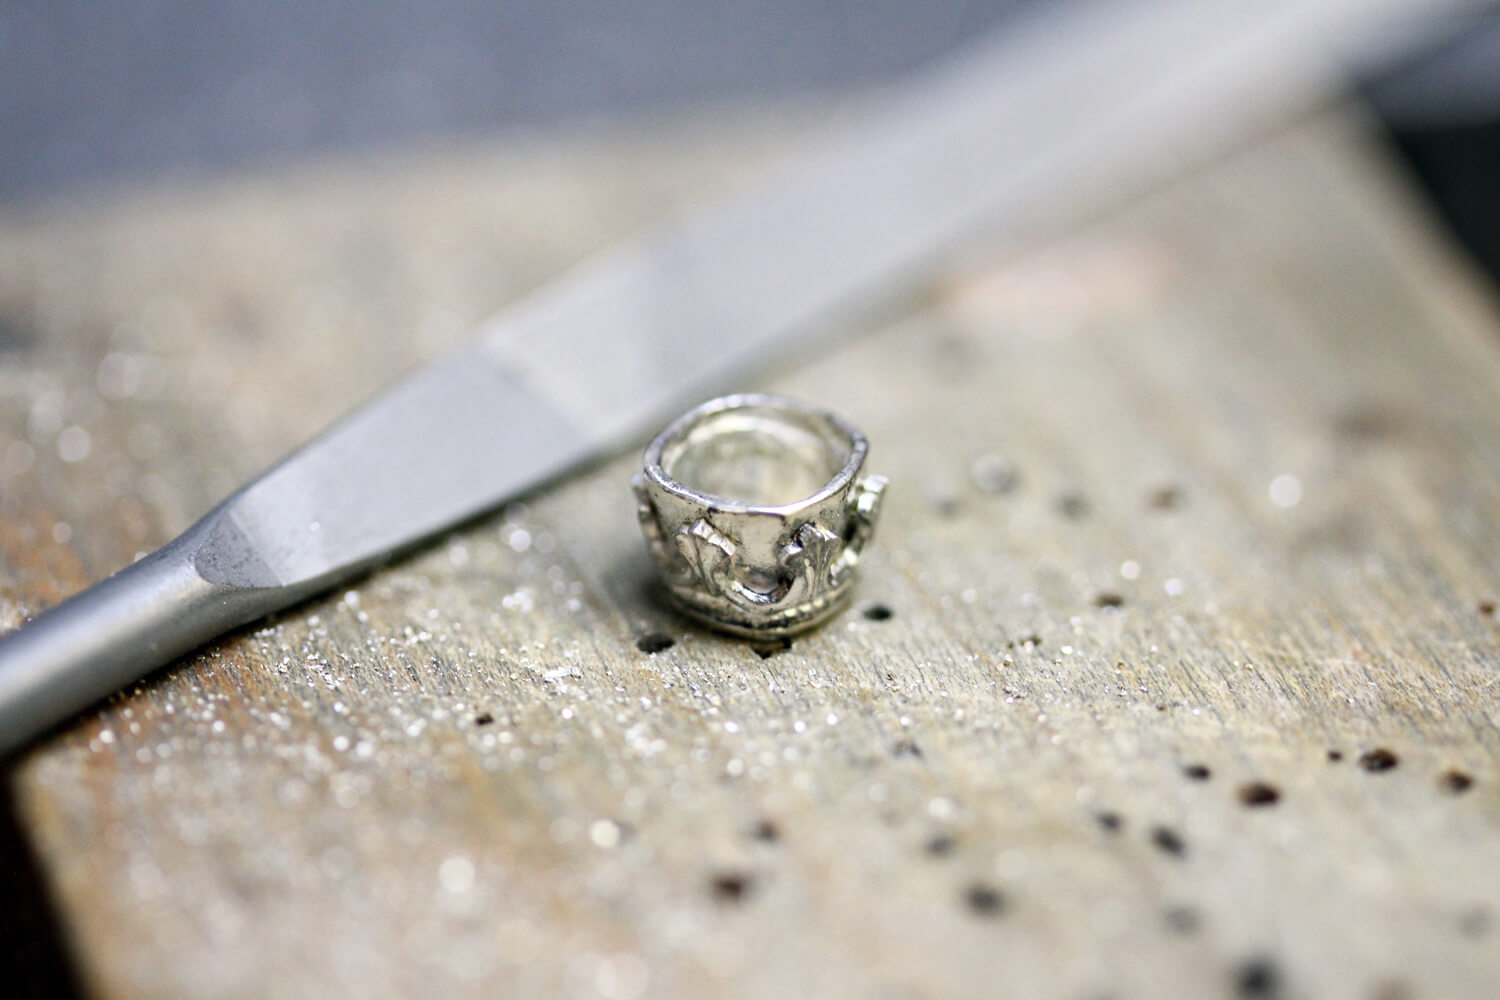 “Be with me always - take any form - drive me mad! only do not leave me in this abyss, where I cannot find you! Oh, God! it is unutterable! I can not live without my life! I can not live without my soul!” E Brontë
Behind the Scenes